 | |
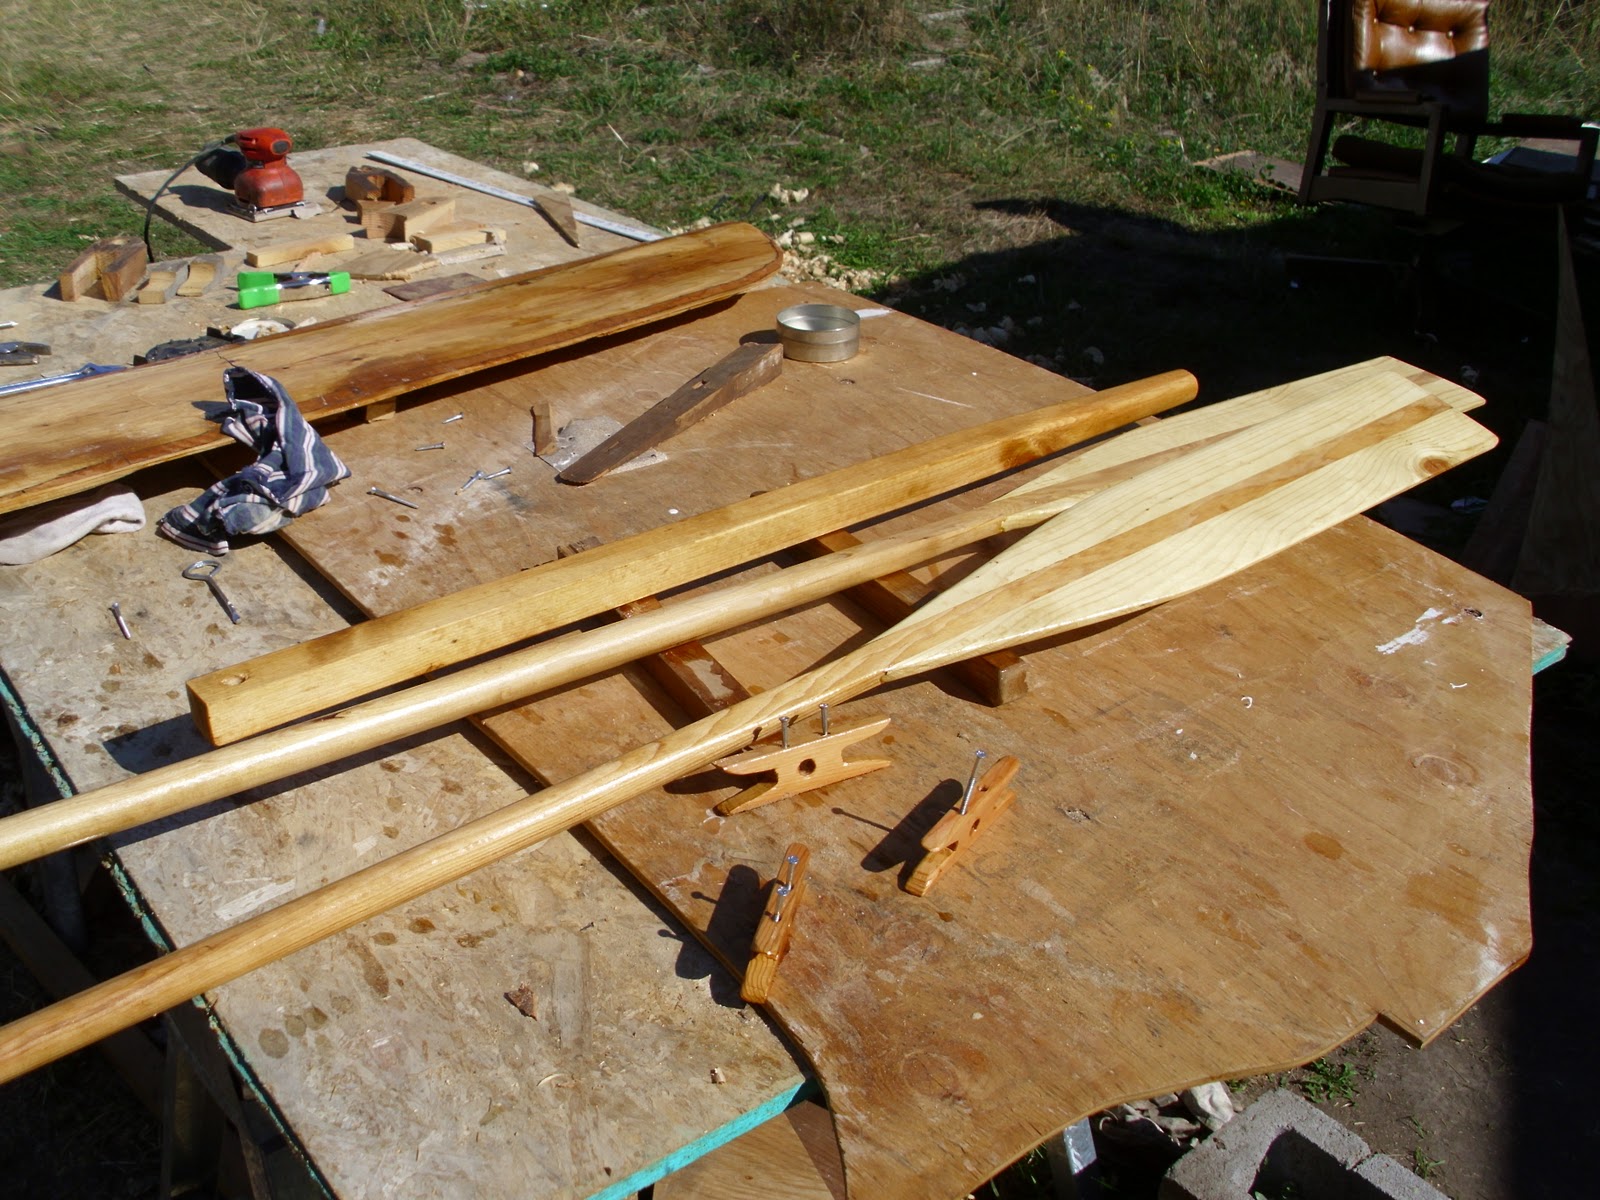
| Well, if you don't have enough clamps... improvise! This is gluing the first blade to the oar handles. |
So....it's going to be rather hard to take this boat anywhere if the wind dies-right? Of course every proper boat needs oars and since I'm not rolling in cash to buy really pretty oars from the likes of Shaw and Tenney (warning pretty stuff at this link! http://www.shawandtenney.com/index.php ) so I guess I'll make my own.
There are a lot of ways to build an oar. A lot of them require cutting the oar blank from solid lumber, which is great if you have a decent bandsaw and clear lumber to work with. Well, this is a backyard boat and the sum total of heavy power tools used was the table saw for sawing out the gunwales and chines. Another approach is needed. Another route presented itself through Andrew Linn (note the Annas Discorse previously). He has a page for building oars http://www.waderweb.com/plans/oars2/betteroars_0.htm and you may like his route, or go some other, or just buy the fooled things.
Well, off to the lumberyard to get the parts. The main oar is just closet rod--tough, pretty much clear of knots, and relatively lightweight. The blade is supposed to be 1 x 2, but I (inadvertently) used 1 x 3. The directions are pretty straight forward so it was a matter of cutting, planing flats on the rods (getting those in line with each other takes some care, but isn't hard). cutting the paddle blanks and gluing them on (Titebond II here-and don't skimp!). Once the whole blank is glued up, the fun part starts.
Actually, you could take the blank and use it as an oar, but it'd look funny and be rather bulky in use, with a lot of extra weight on the end. The suggestion is for the length of an oar to be twice the beam (at the gunwales) of your boat. The beam of the Teal is about 42", so I went with 7 foot oars. If that turns out too long, well I can always cut them down.
The fun is getting the paddle end to look like a paddle. A lot of people have power planes. How quaint. Lacking yet another awesome power tool, I'll go dig out my big plane (Bailey #5) and have at it.
 | |
| If things go well for you, you'll wind up with something like this, and some sore arms from working the plane. Thank gosh for power sanders at least. This blade is made with 1x3's so might be a bit wider than others may suggest. |
 |
| This is more or less what you come up with. Go nuts with the varnish and give it plenty of time to cure. It will hold up better for you, but if you don't just sand and recoat. Sharp eyed folks will see that knot on the one blade. I was surprised that it didn't blow out while planing, but it hung in there. Will talk later about the wooden cleats. |
No comments:
Post a Comment